Create Your First Shipment
Create a shipment from the Hub and review its essentials in the short guide.
- ForCompany users allowed to create shipments
- Task timeAbout 3 min
- Video1:19
- Last checked2026-10-22
Overview
Only the shipment name is needed to create a shipment. You do not need to finish Setup first.
What you'll learn
- Start a new shipment
- Name and create it
- Fill in the essentials in the short setup guide
- Open the new shipment
Before you begin
- A Company and permission to create shipments Create Your First Company
- An active subscription with credits for your Company (see Plan & payments)
Step-by-step guide
Check your plan and credits
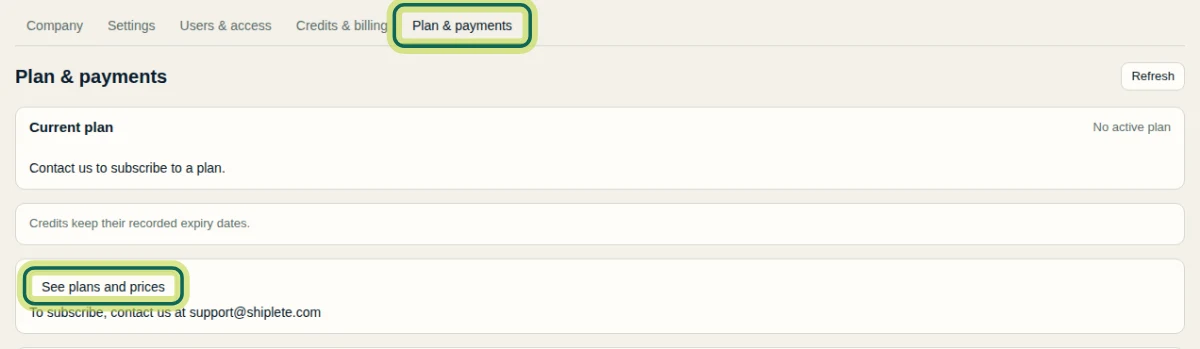
Creating shipments uses credits, so your Company needs an active subscription. A subscription adds credits to your Company every month. To see the available options, open Company, select Plan & payments, then See plans and prices.
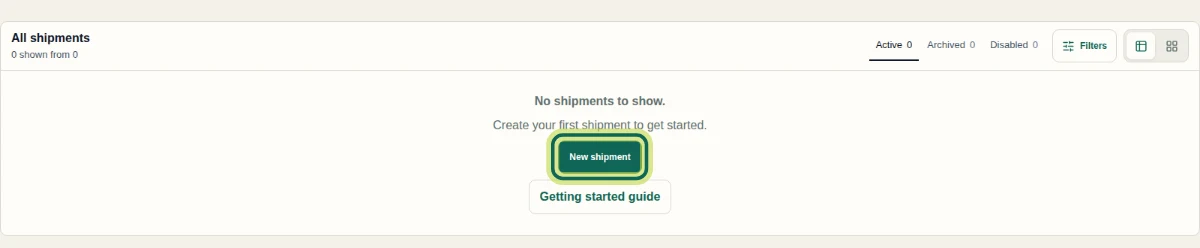
Step 1 Select New shipment
On your Shipments page, select New shipment.
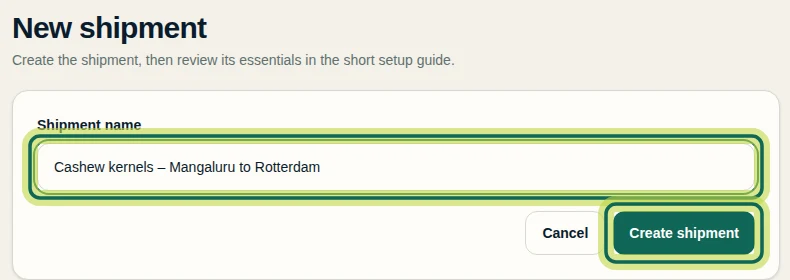
Step 2 Name the shipment
Enter a Shipment name your team will recognise, such as the product and route, and select Create shipment once. It can take a few moments.
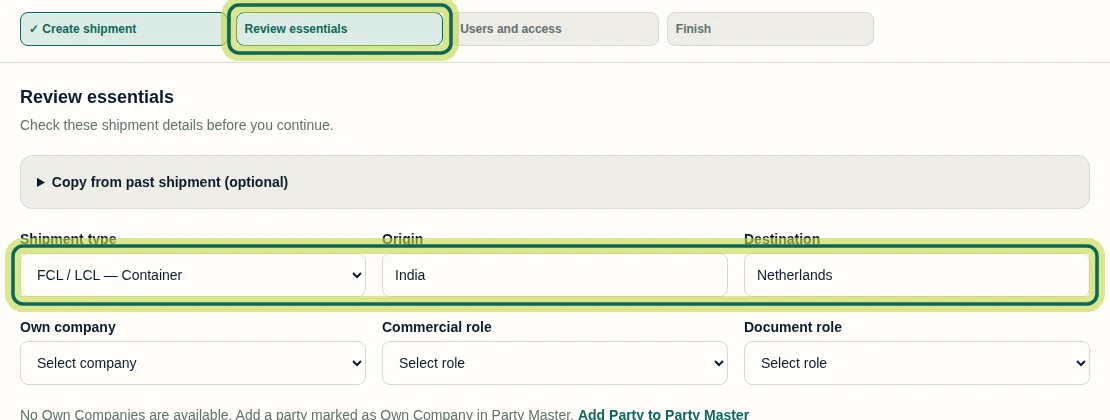
Step 3 Review the essentials
A short setup guide opens on Review essentials. Choose the Shipment type and enter the Origin and Destination countries.
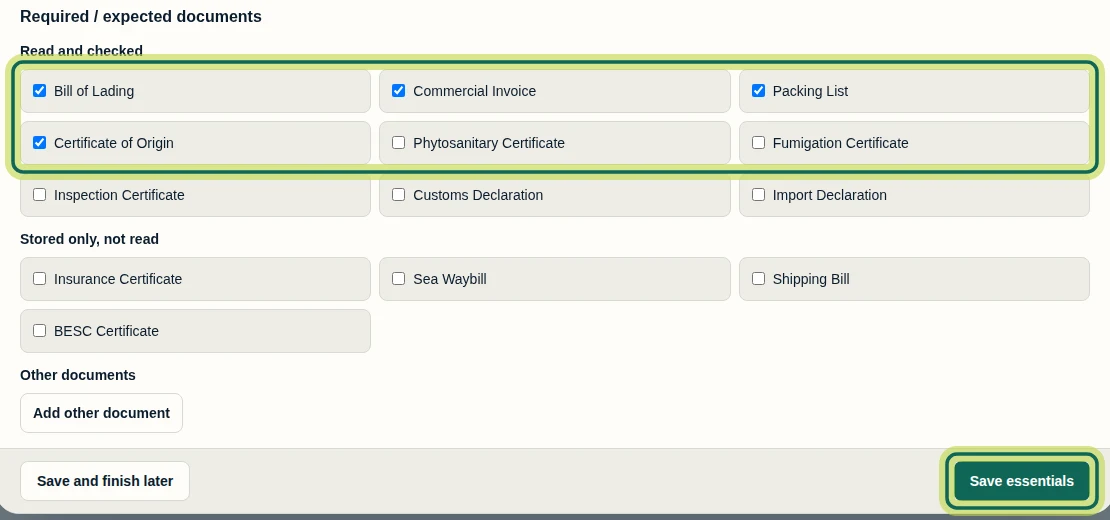
Step 4 Choose the expected documents
Tick the documents you expect for this shipment, then select Save essentials. Anything else can wait for Shipment Setup.
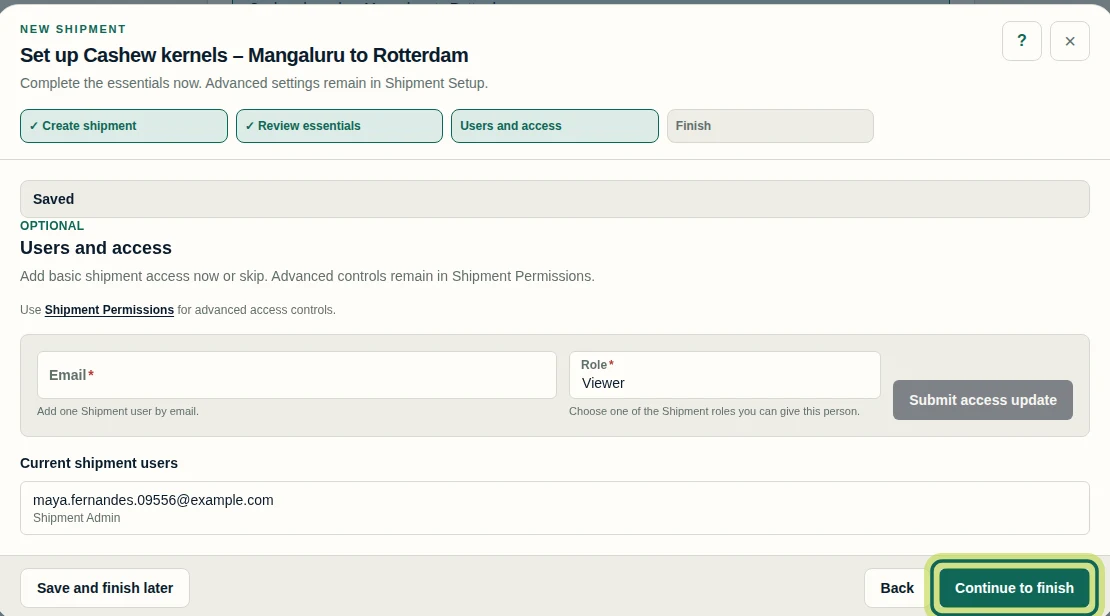
Step 5 Skip or add a Shipment user
Adding a Shipment user here is optional; you can invite people later. Select Continue to finish.
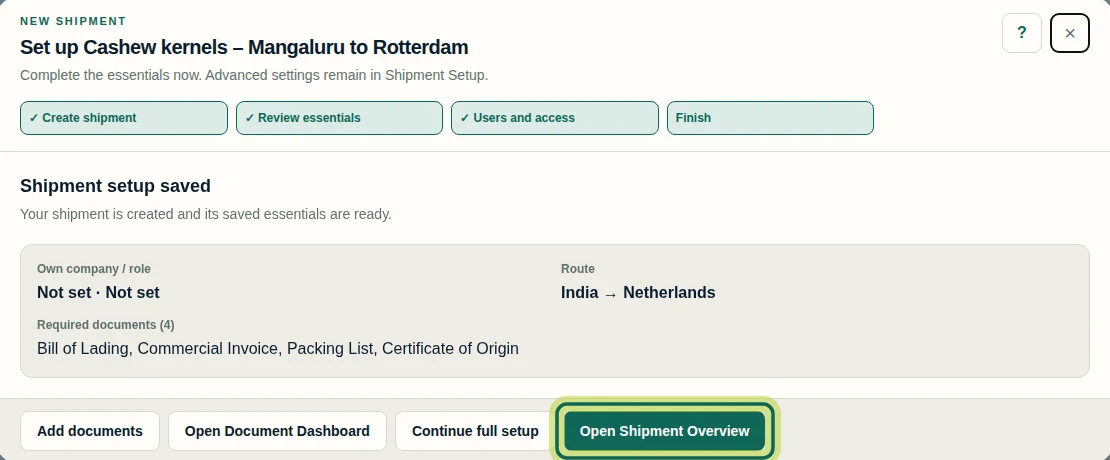
Step 6 Open the shipment
Shipment setup saved shows what you entered. Select Open Shipment Overview.
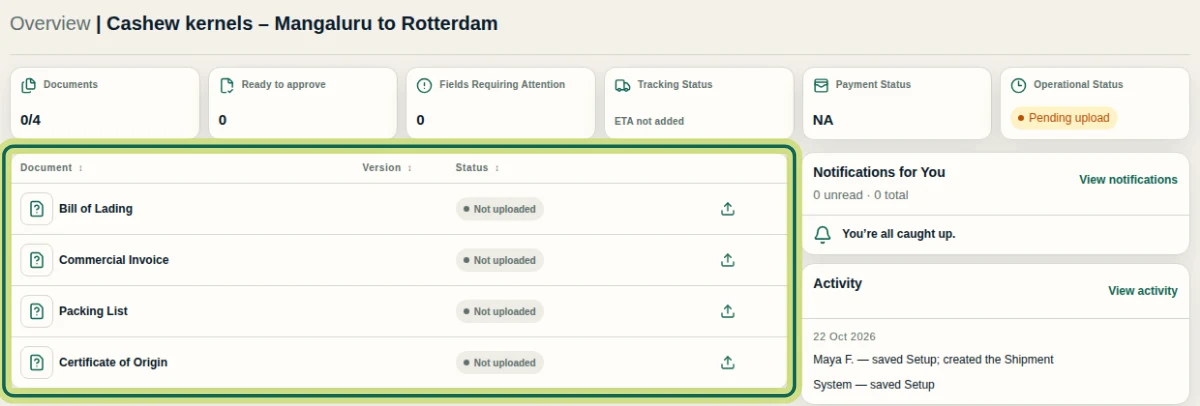
Step 7 See your shipment
The shipment's Overview lists the documents you expect, ready to upload. The shipment also appears on your Shipments page.
Step 8
Expected result
Your shipment is created with its essentials saved. Its Overview lists the documents you expect, and it appears on your Shipments page.
Common issues
- I can't create a shipment.
- Creating shipments uses credits and needs an active subscription for your Company. Open Company, select Plan & payments, then See plans and prices to see the available options.
- New shipment is not shown.
- Your access does not allow creating shipments. Ask your Company administrator.
- Creation takes a while.
- Wait for the result and use Check again. Selecting Create shipment again can create a second shipment.
Next tutorial
Was this helpful?
If something did not work as described, tell us and we will help.